This tutorial will show you how to install a PCI-DSS compliant Red Hat Enterprise Linux 7.2 (RHEL-7.2) Server using the OSCAP Anaconda Add-on. The Anaconda is the installation program used by Red Hat Enterprise Linux to identify and configure the hardware, as well as to install the operating system software. Anaconda Add-ons are dynamically loaded plugins developed and maintained by other teams. The Payment Card Industry Data Security Standard (PCI-DSS) is a proprietary security standard for organizations that want to handle branded credit cards. We will install the system automatically from scratch using the kickstart installation method and a kickstart file provided by SCAP Security Guide (SSG). The SSG project is part of our OpenSCAP ecosystem and provides free security policies. The kickstart file will make sure that your server will be installed automatically and oscap Anaconda Add-on will make sure that it will be PCI-DSS compliant. The system will be installed on a virtual machine using the Virtual Machine Manager.
1. Download and customize the kickstart file
To use a kickstart installation method we need a kickstart file. We will use the upstream kickstart file provided by the SSG which can be downloaded from the github page. In the file you can change the language, your prefered keyboard layout, specify your network settings, choose root’s password or set-up your partitions. If you are more interested in the configuration of a kickstart file please refer to the AUTOMATING THE INSTALLATION WITH KICKSTART section of the official documentation. The important lines in the kickstart file are the following four lines which will make sure that the OSCAP Anaconda Add-on will be used and the PCI-DSS profile from the SCAP Security Guide will be selected.
%addon org_fedora_oscap
       content-type = scap-security-guide
       profile = pci-dss
%end
The openscap-scanner, which is one of the OpenSCAP tools, will handle scan for PCI-DSS compliance and remediation of the system.
2. Create and set-up a new virtual machine
You can install the Virtual Machine Manager from the virt-manager package. First we need to create a new virtual machine. Use the Create a new virtual machine button which you can find in the top left corner. You can install the RHEL system from a local image or a network destination. We will use the network option in this tutorial.

If you want to use the network installation then make sure your internet connection is working.
As a kickstart file we will use the upstream kickstart file mentioned in the previous section. Next you need to specify the amount of memory and a number of cores you’d like to use and create a disk space with at least 20GB of space. Two GB of RAM and one CPU should be enough. You can set the name of your new machine and begin the installation.
The PCI-DSS profile is only available in RHEL-7.2 or newer because it was released by SCAP Security Guide since version 0.1.24.
Create a new virtual machine.

Choose network installation.
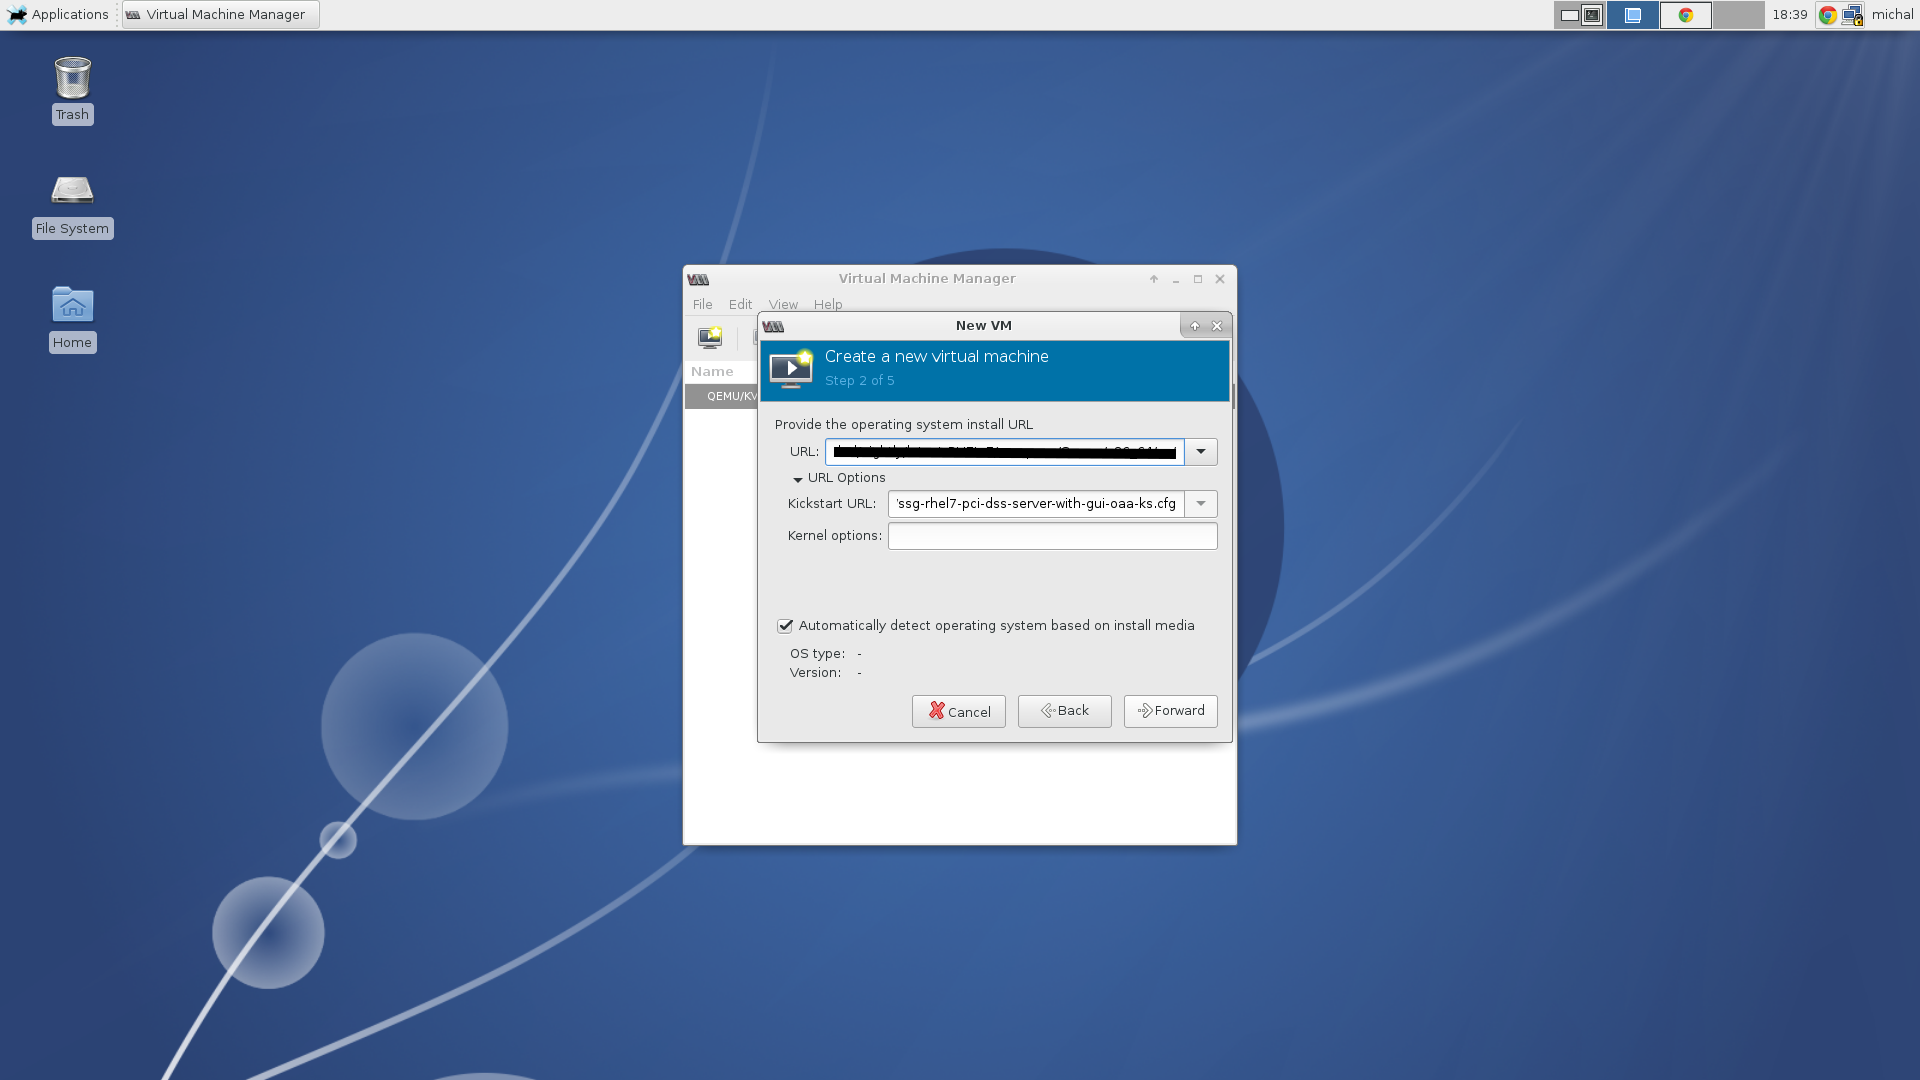
Specify source and a kickstart file.
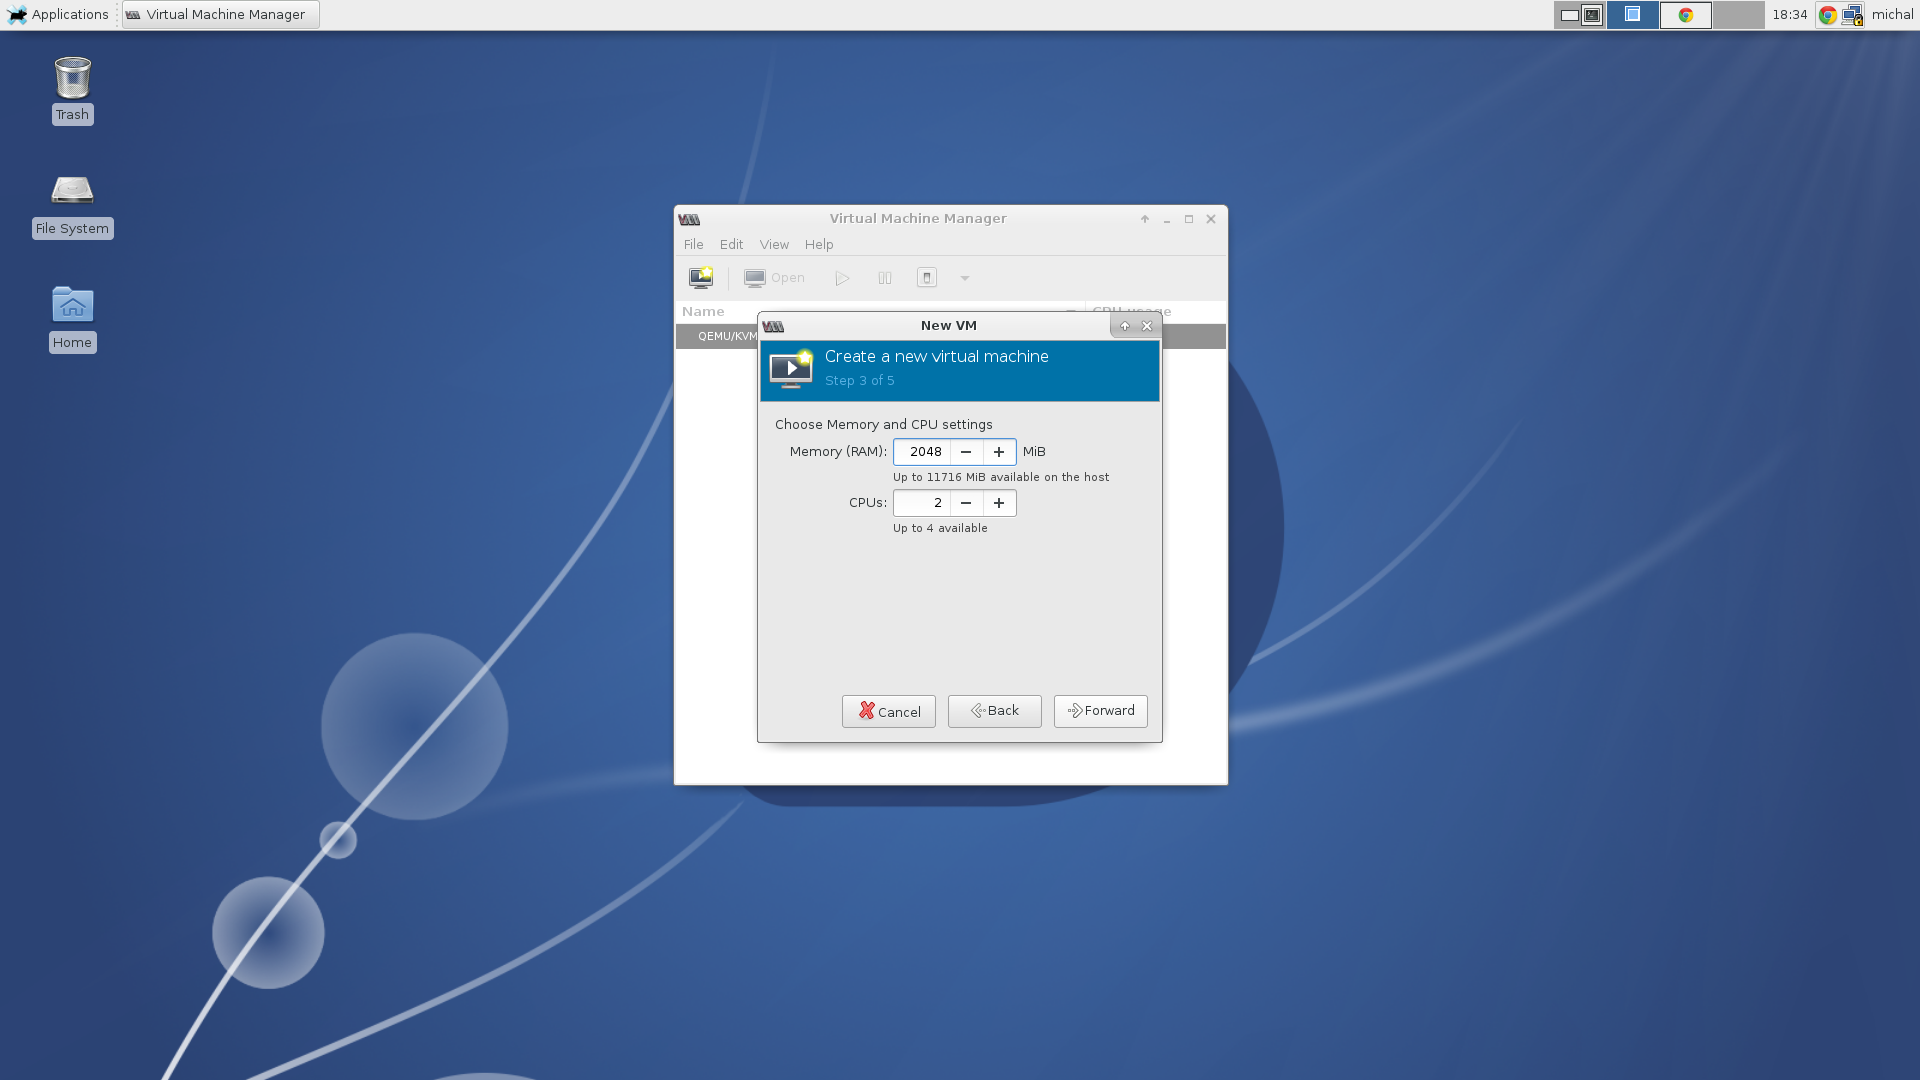
Choose memory and CPU settings.
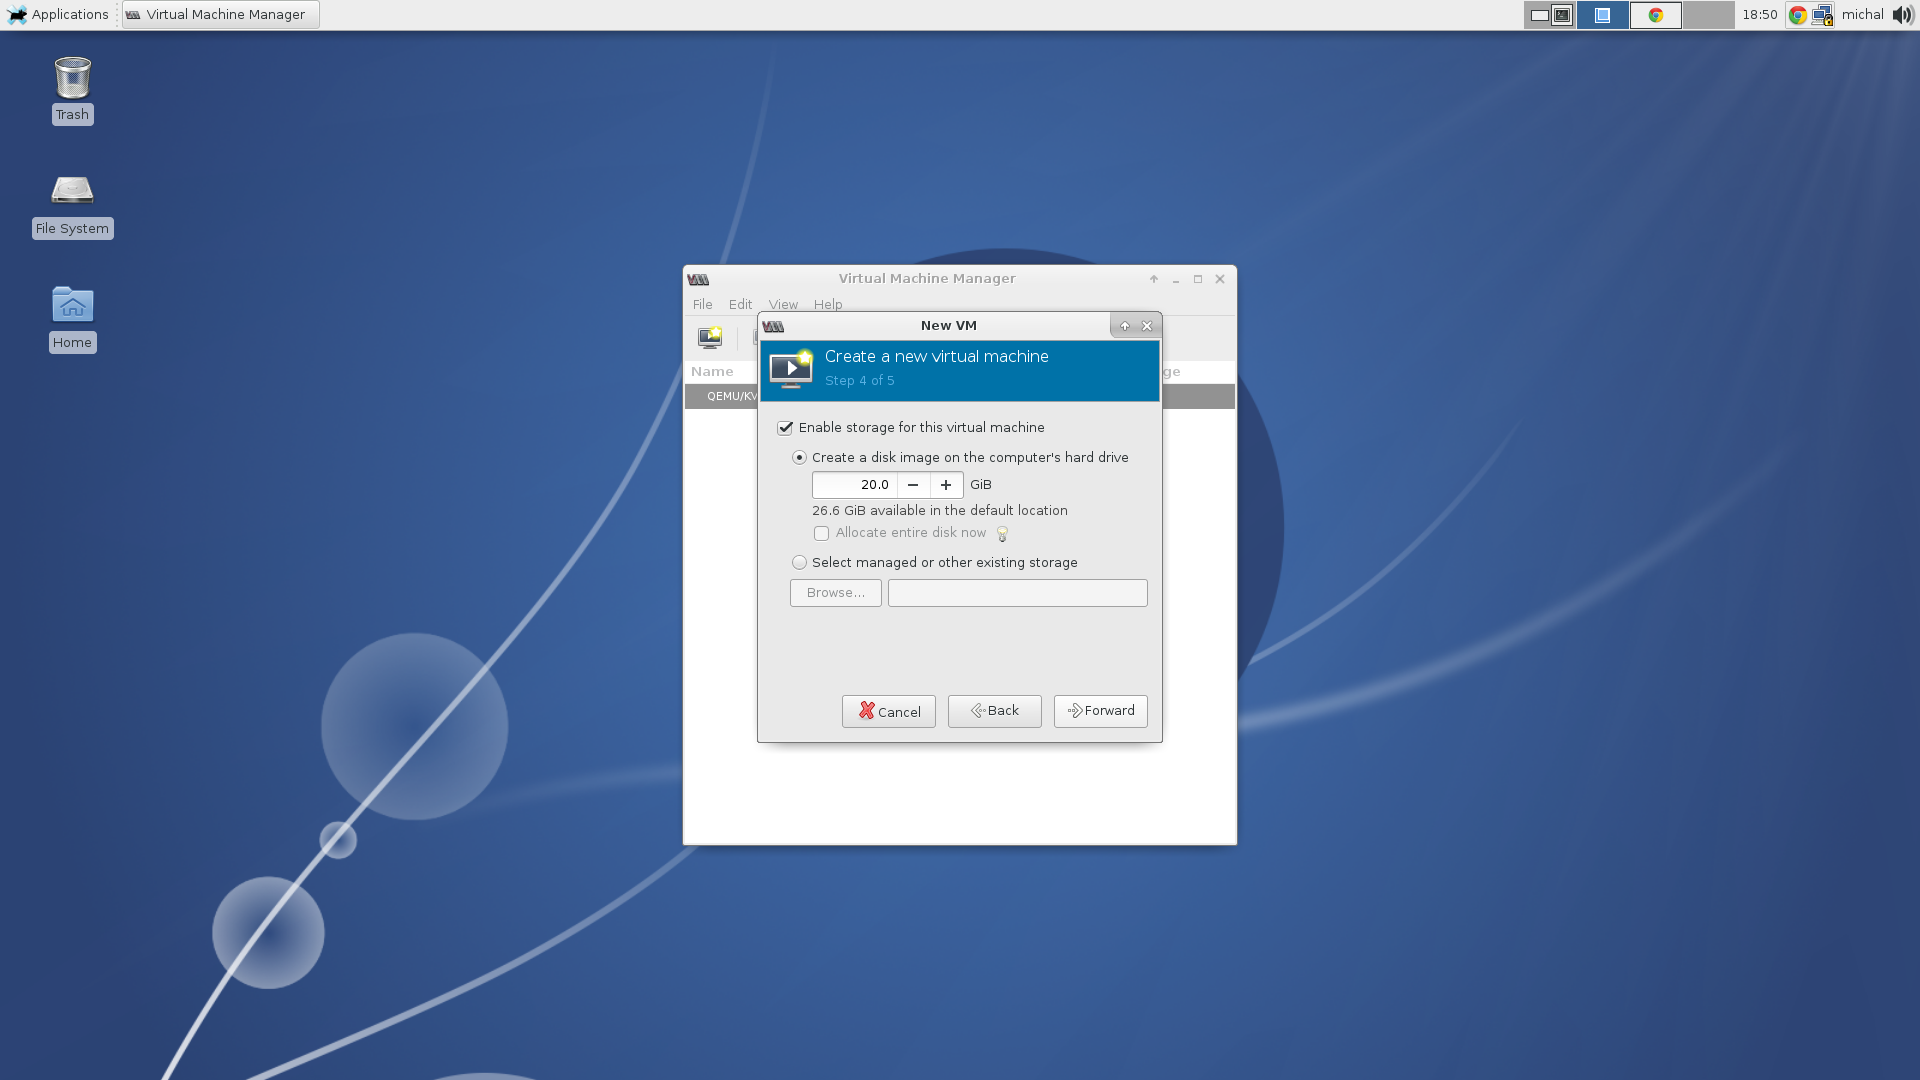
Create a disk image.
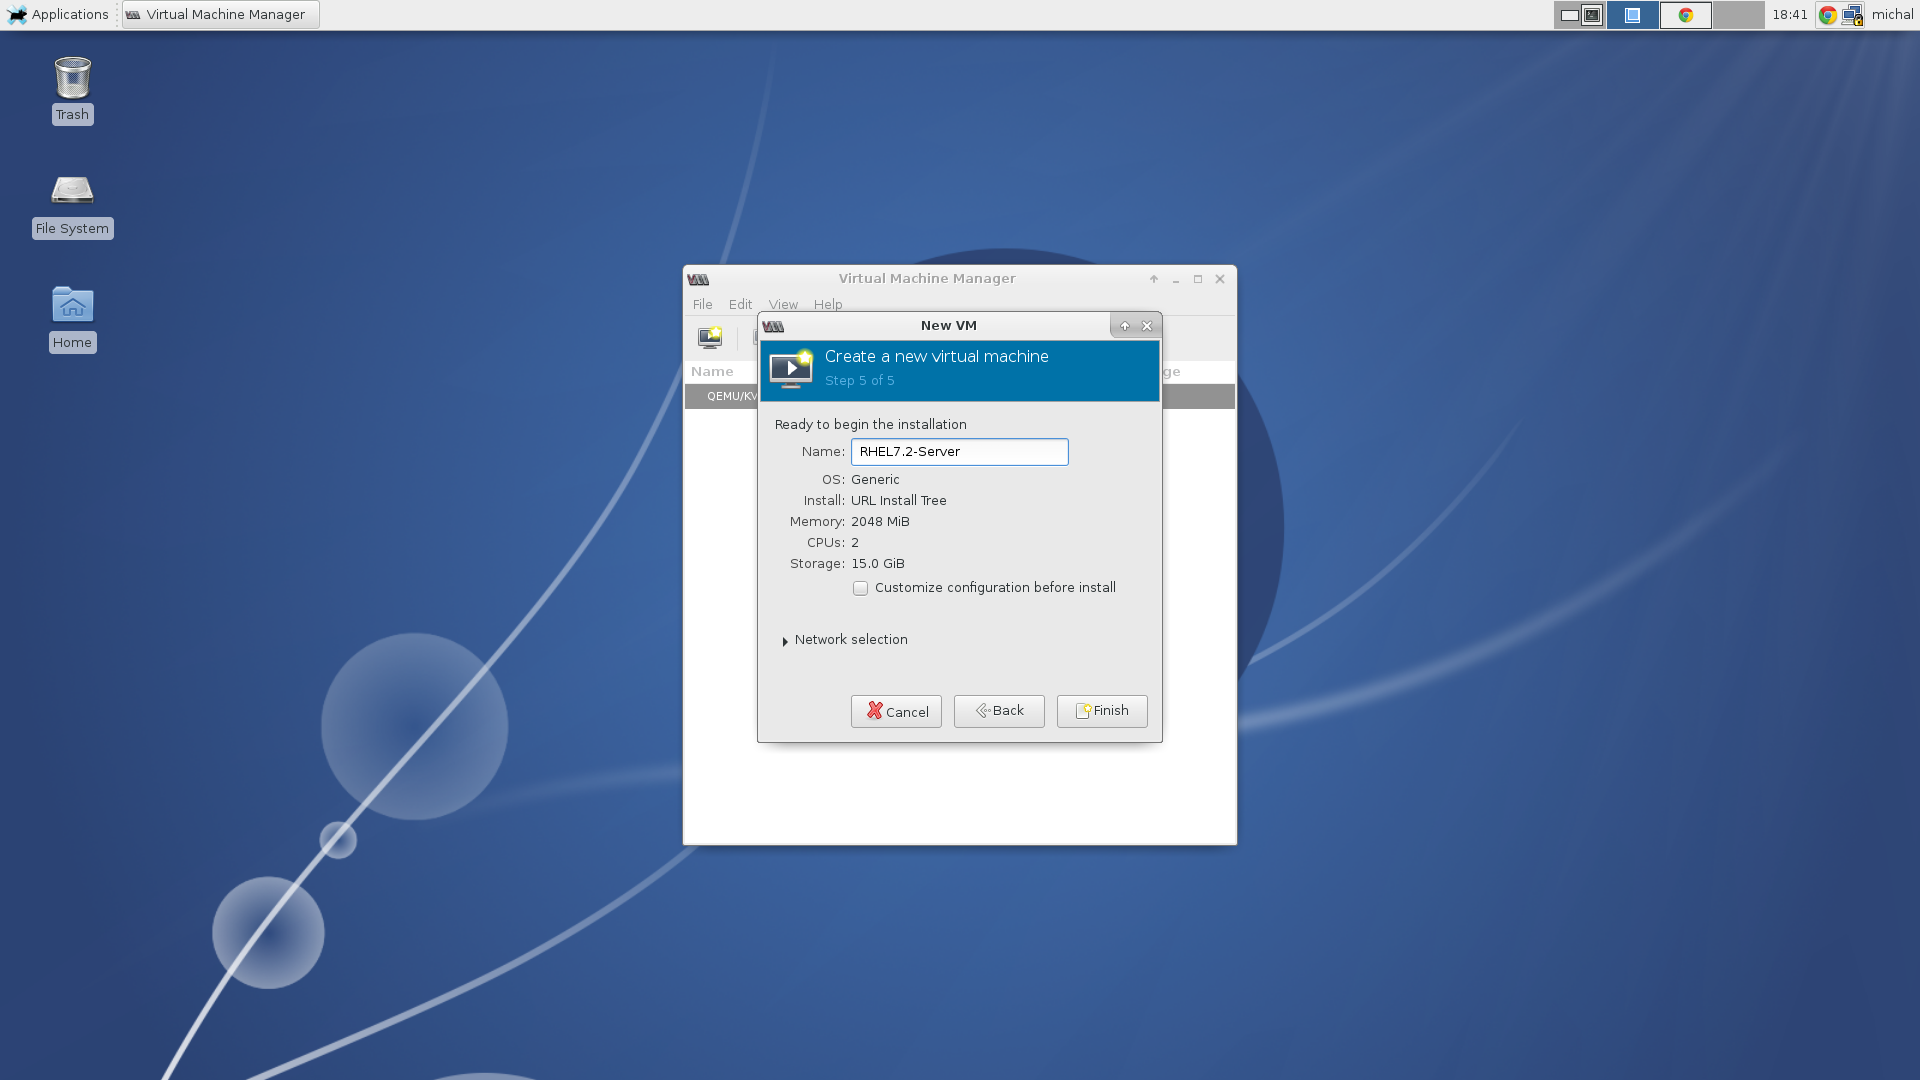
Set a name of the machine.
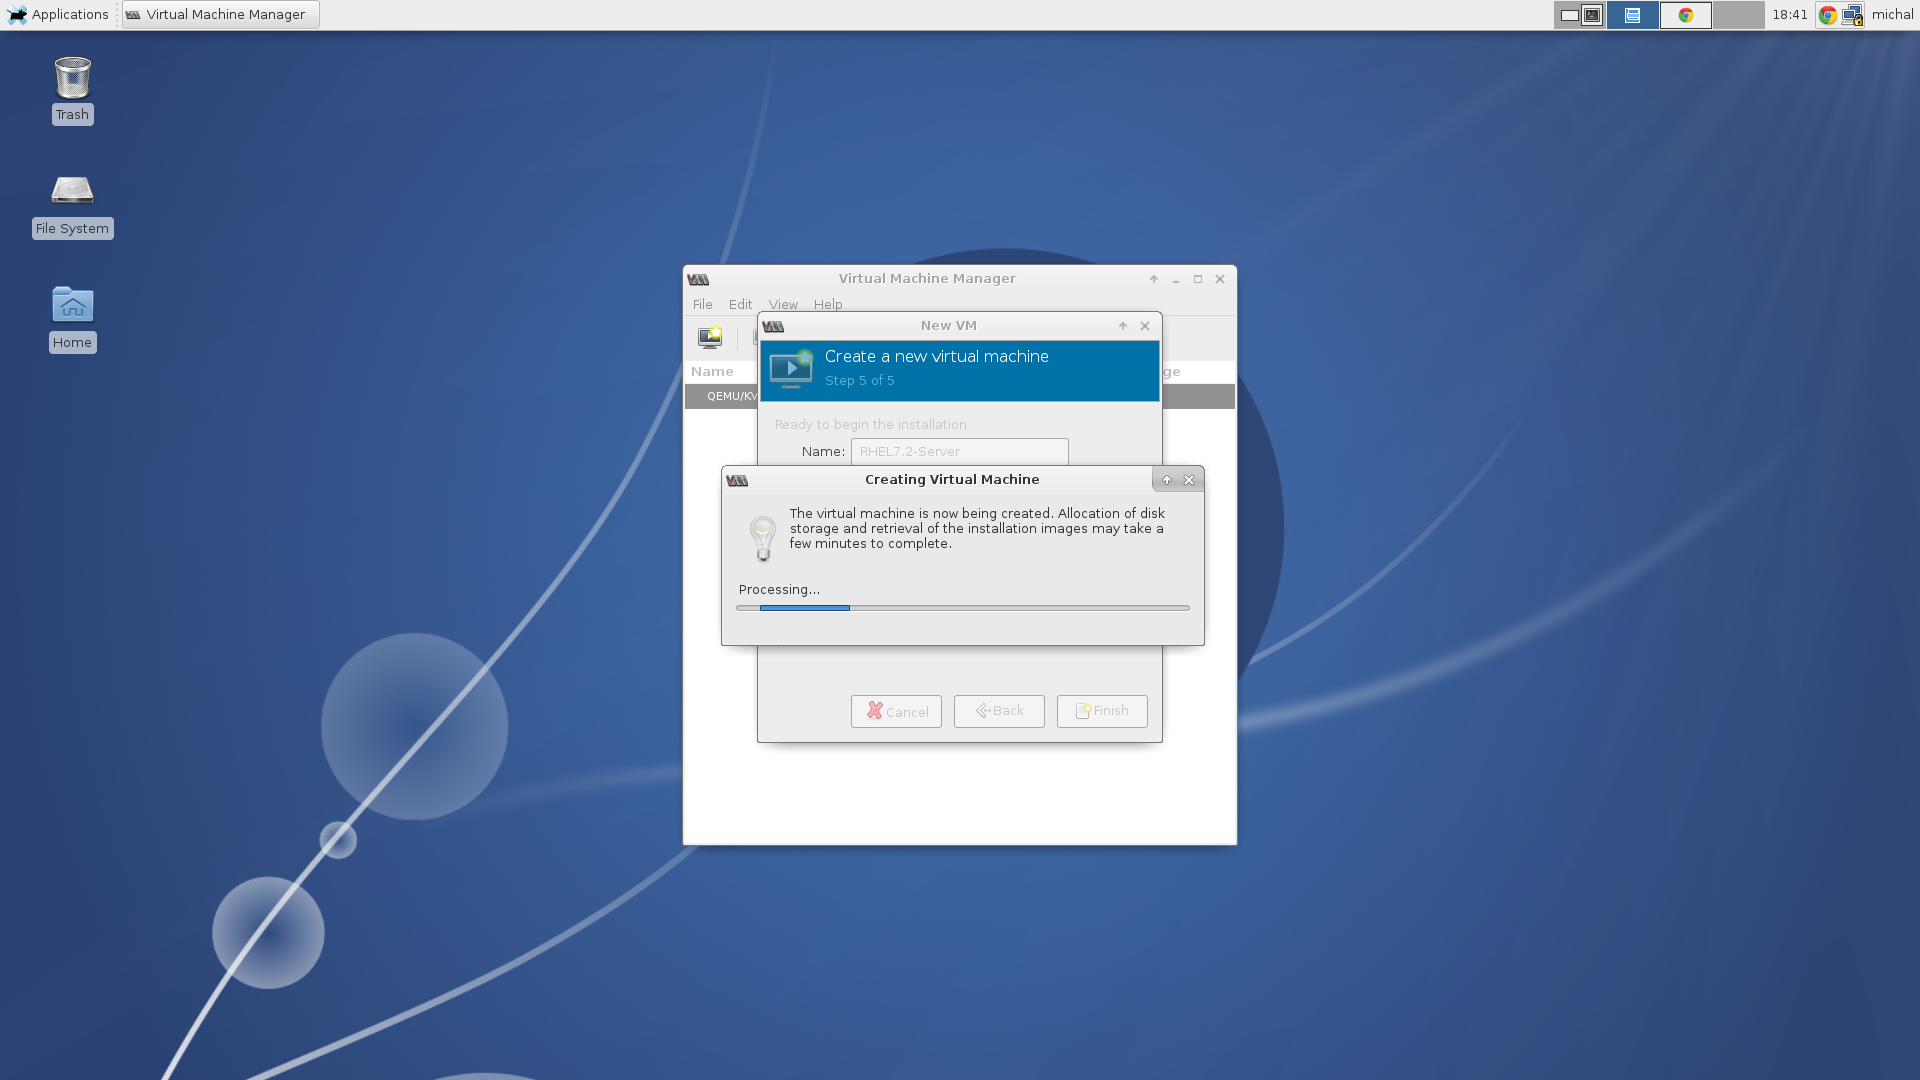
3. Begin installation
When you hit the Finish button the installation will begin. Now you can make a cup of coffee and go through news in the IT world. When you finish there will be a new PCI-DSS compliant RHEL-7.2 Server waiting for you. After the installation is done there are only a few things that needs to be set like language, keyboard layout, timezone, account information and the user password.
Begin the installation.
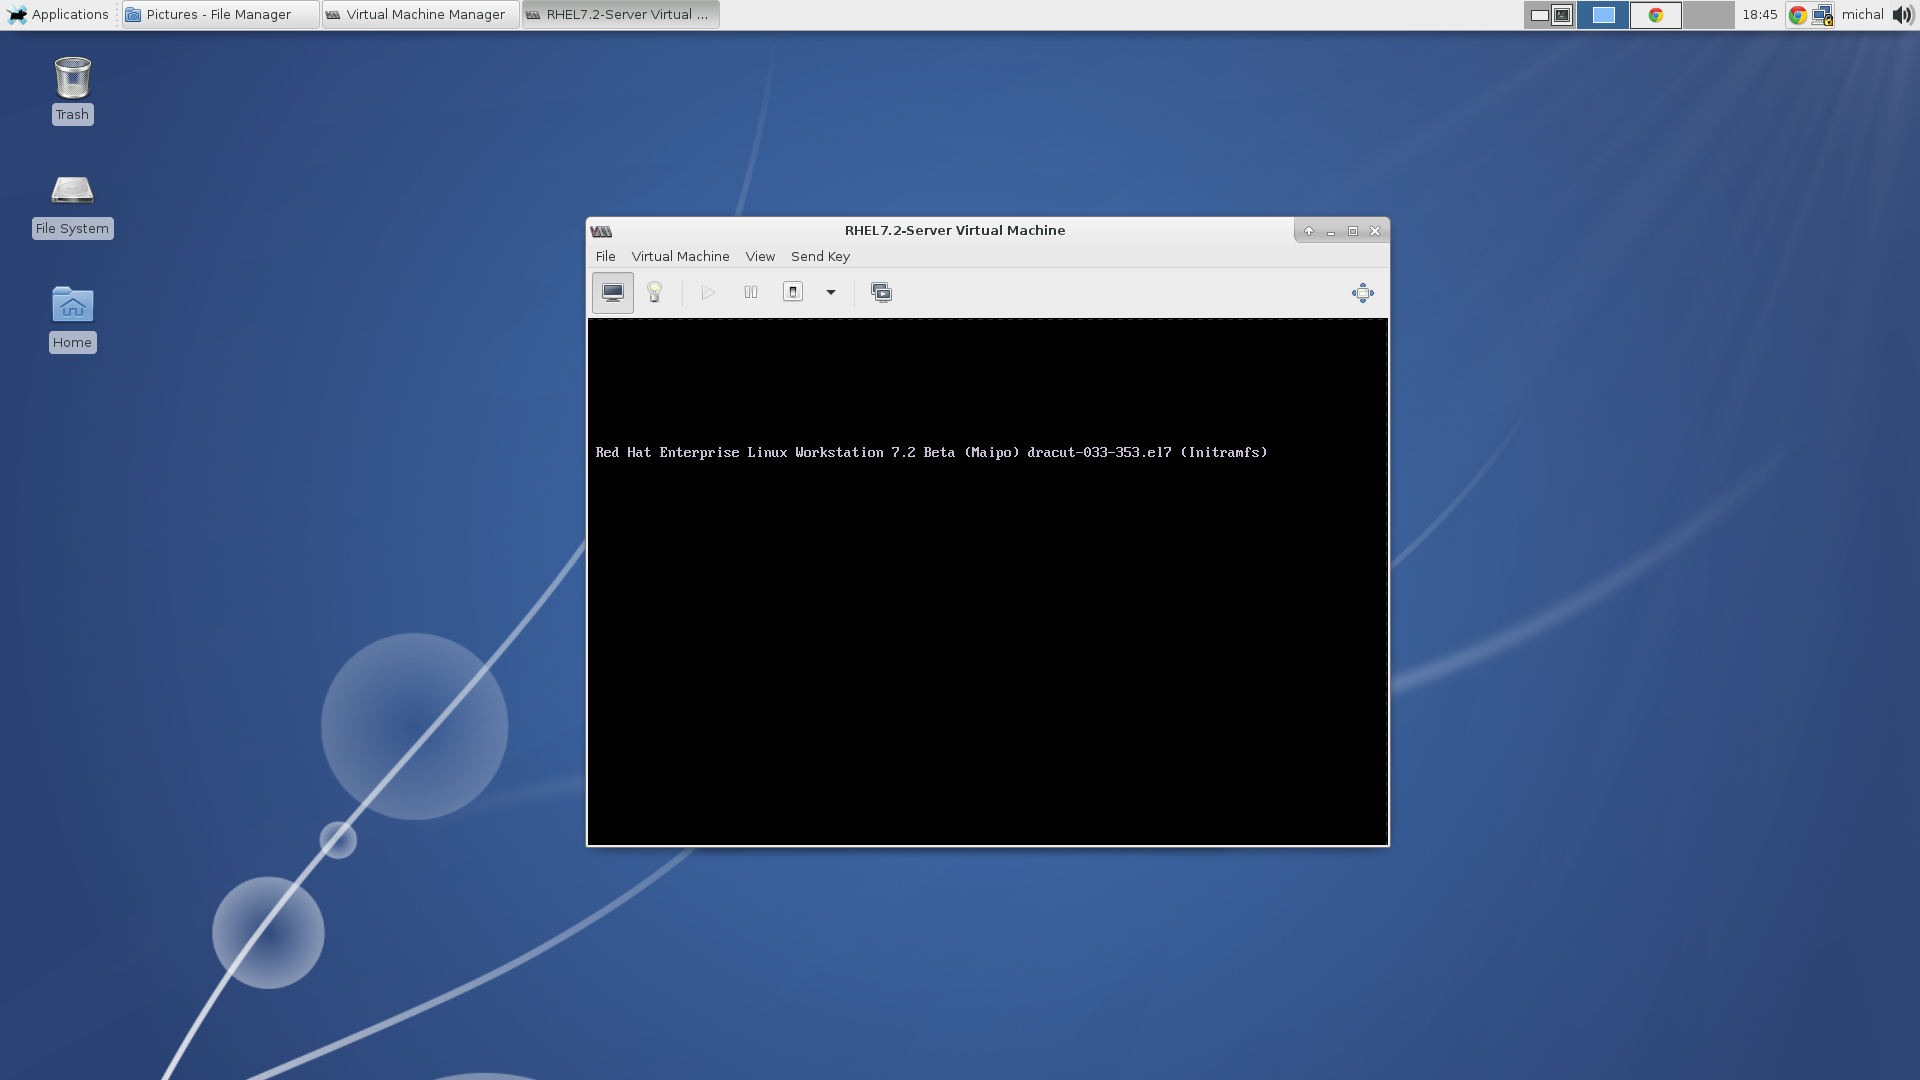
Start of the installation process.
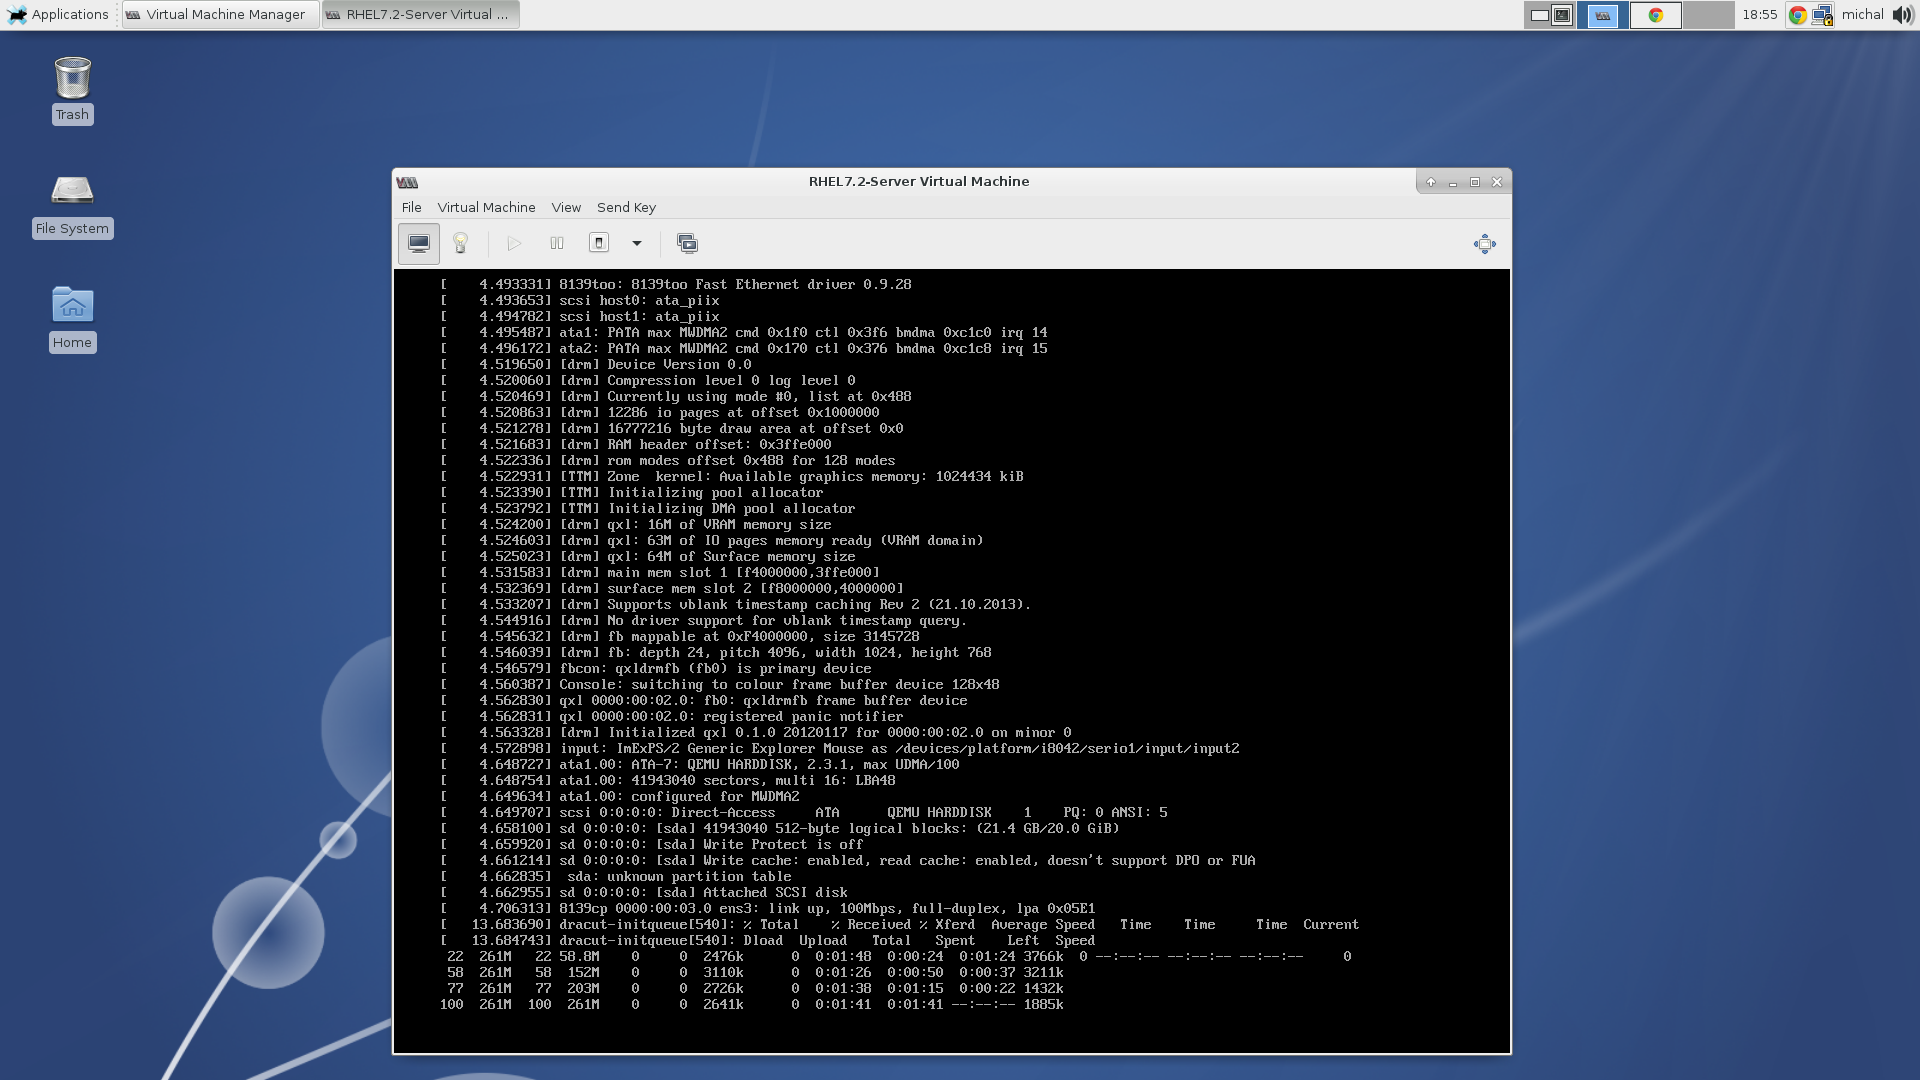
Downloading resources.
On the installation summary screen you can notice the security section. If you wouldn’t be using the kickstart installation method you could use this section to choose a different security profile then PCI-DSS or even a different kind of security policy.
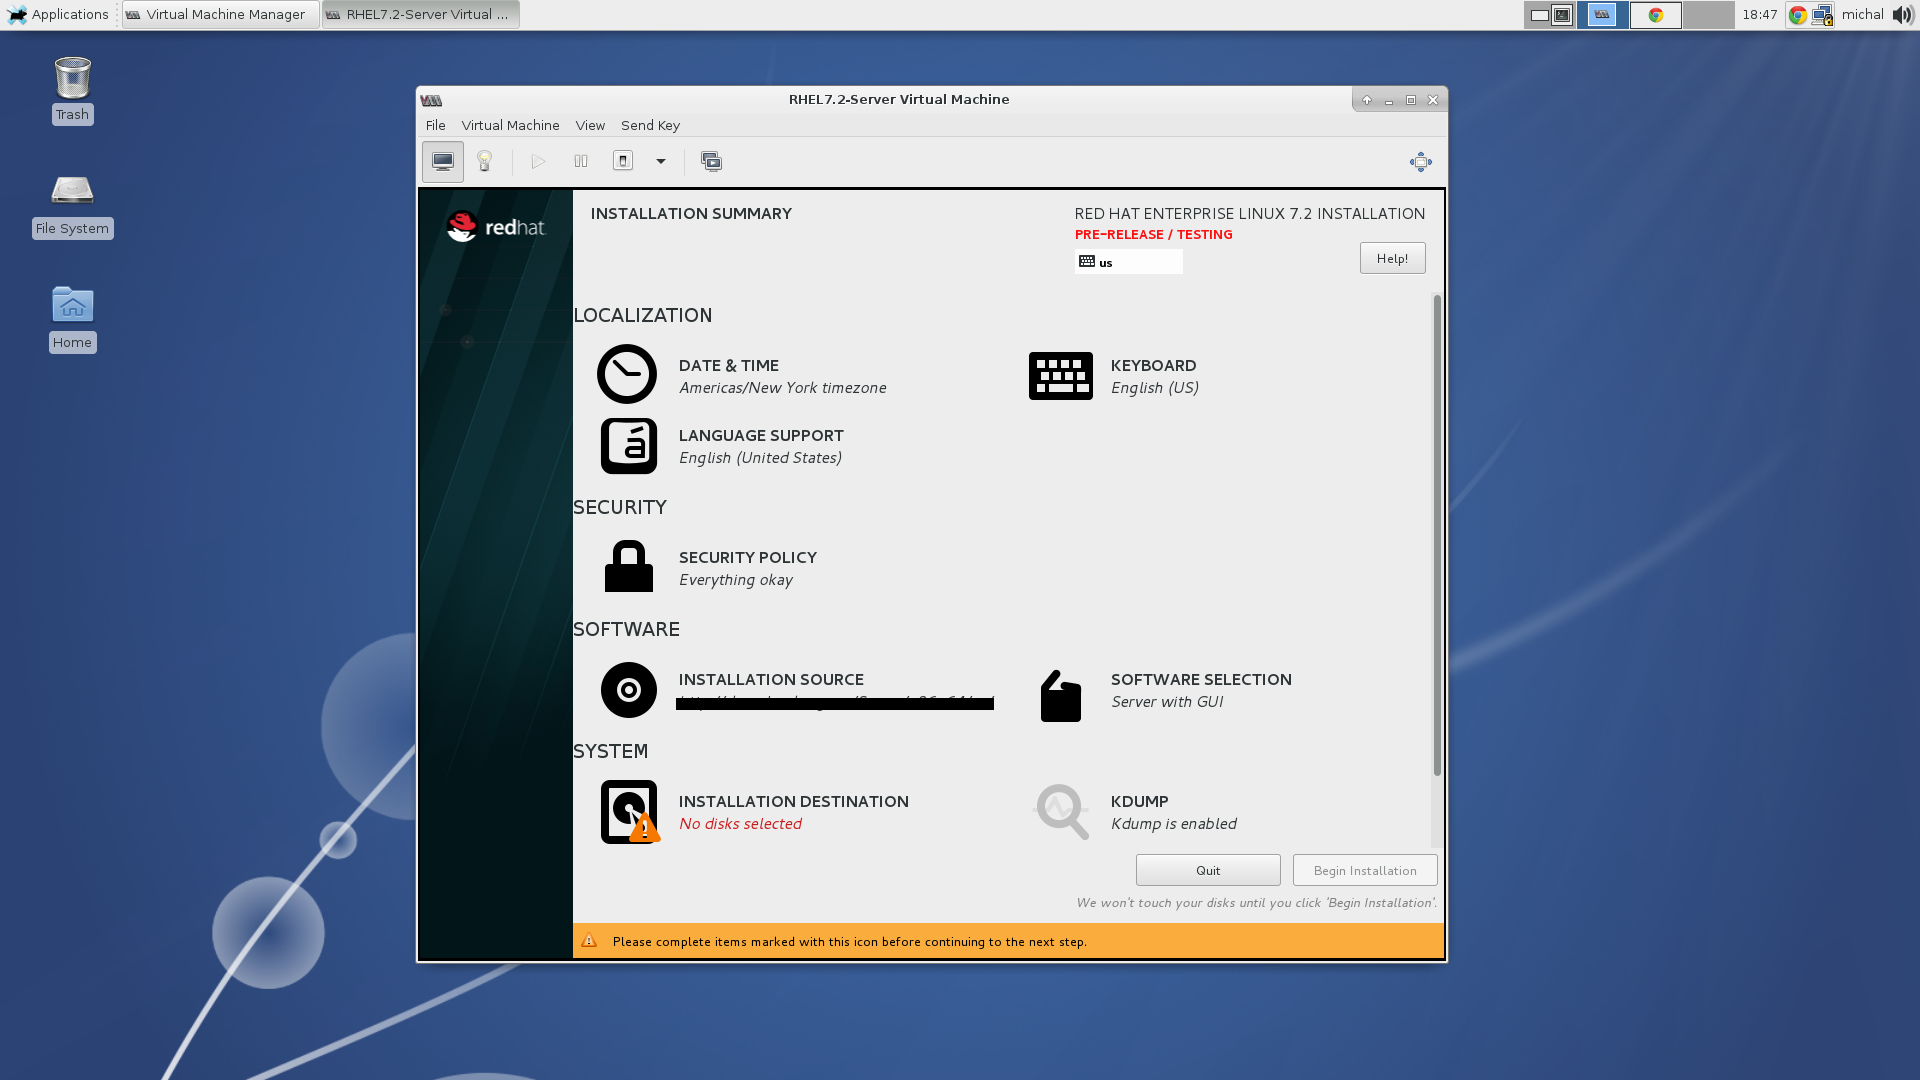
Installation summary.
Installing packages.
4. Finish installation
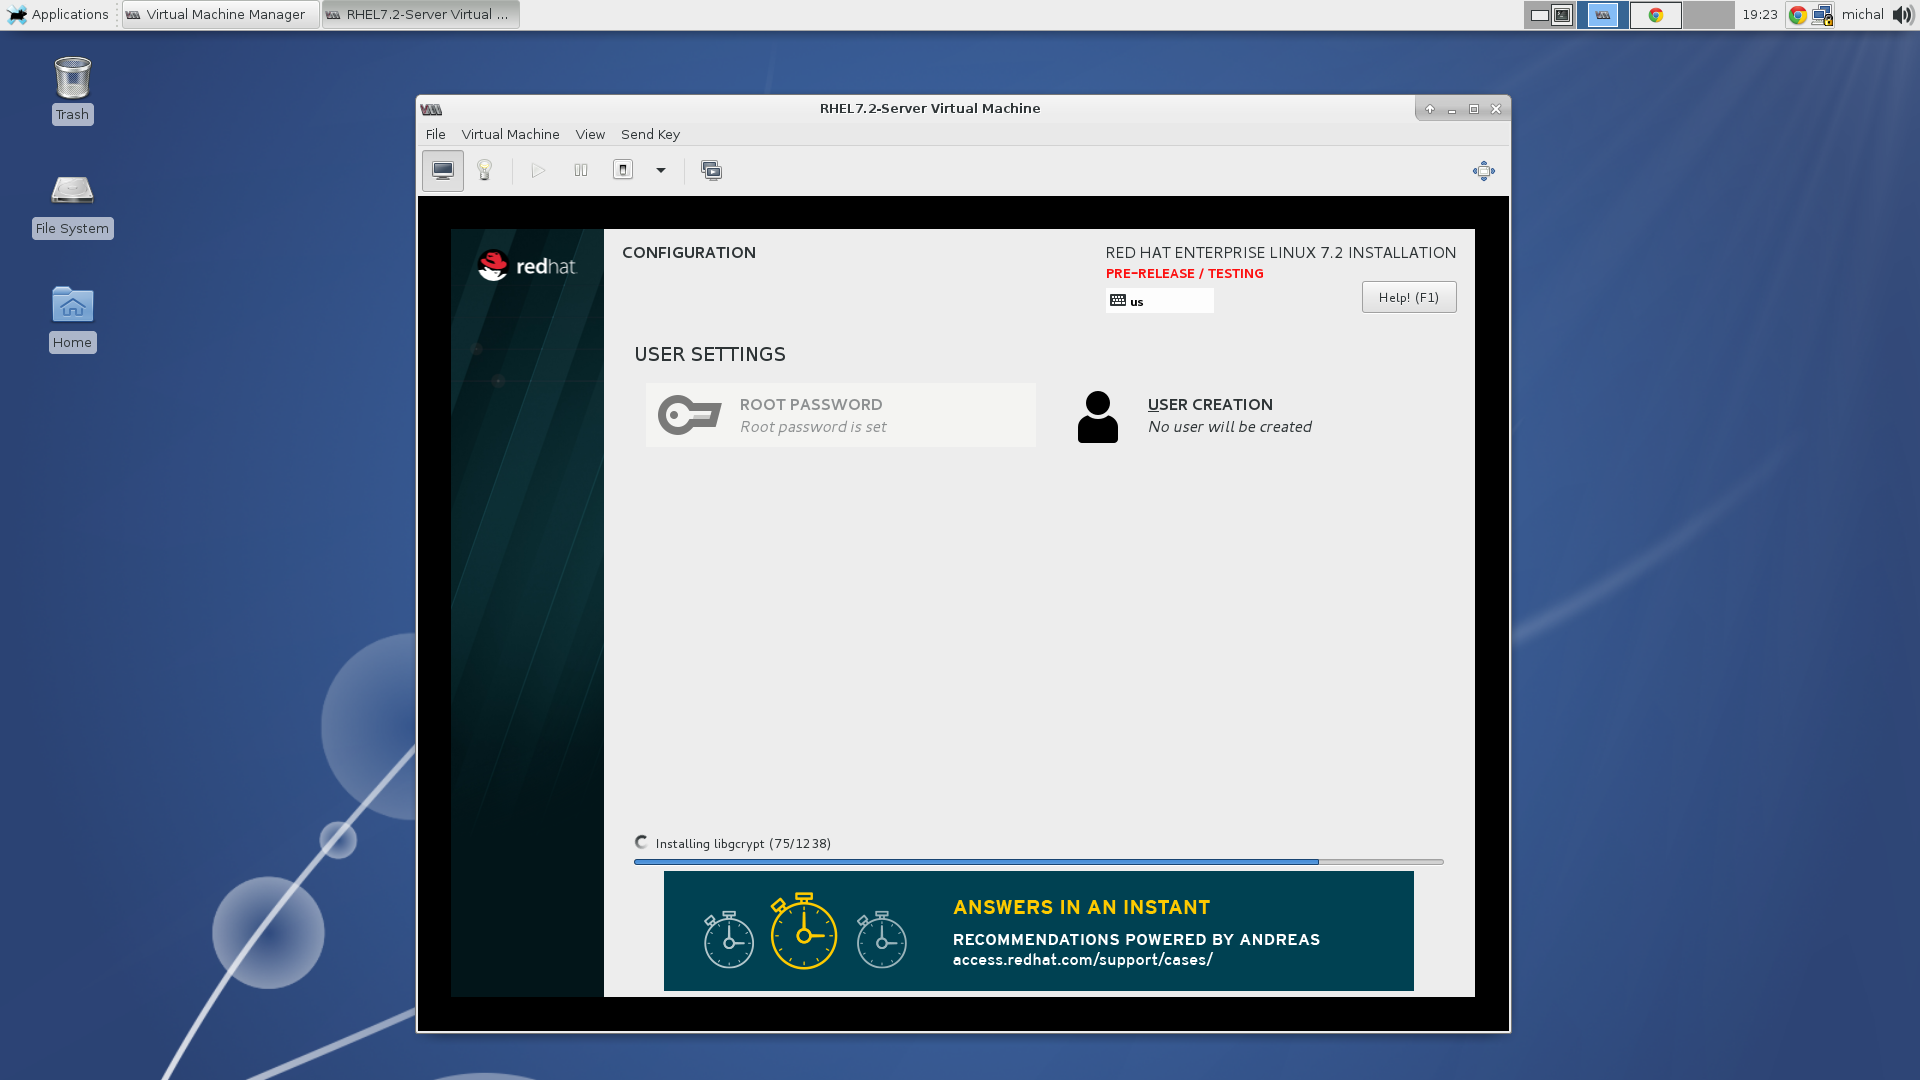
Once the installation has finished, you can set a language, keyboard layout, timezone, set your username and password. Now the installation should be finished.

Choose your preferred language.
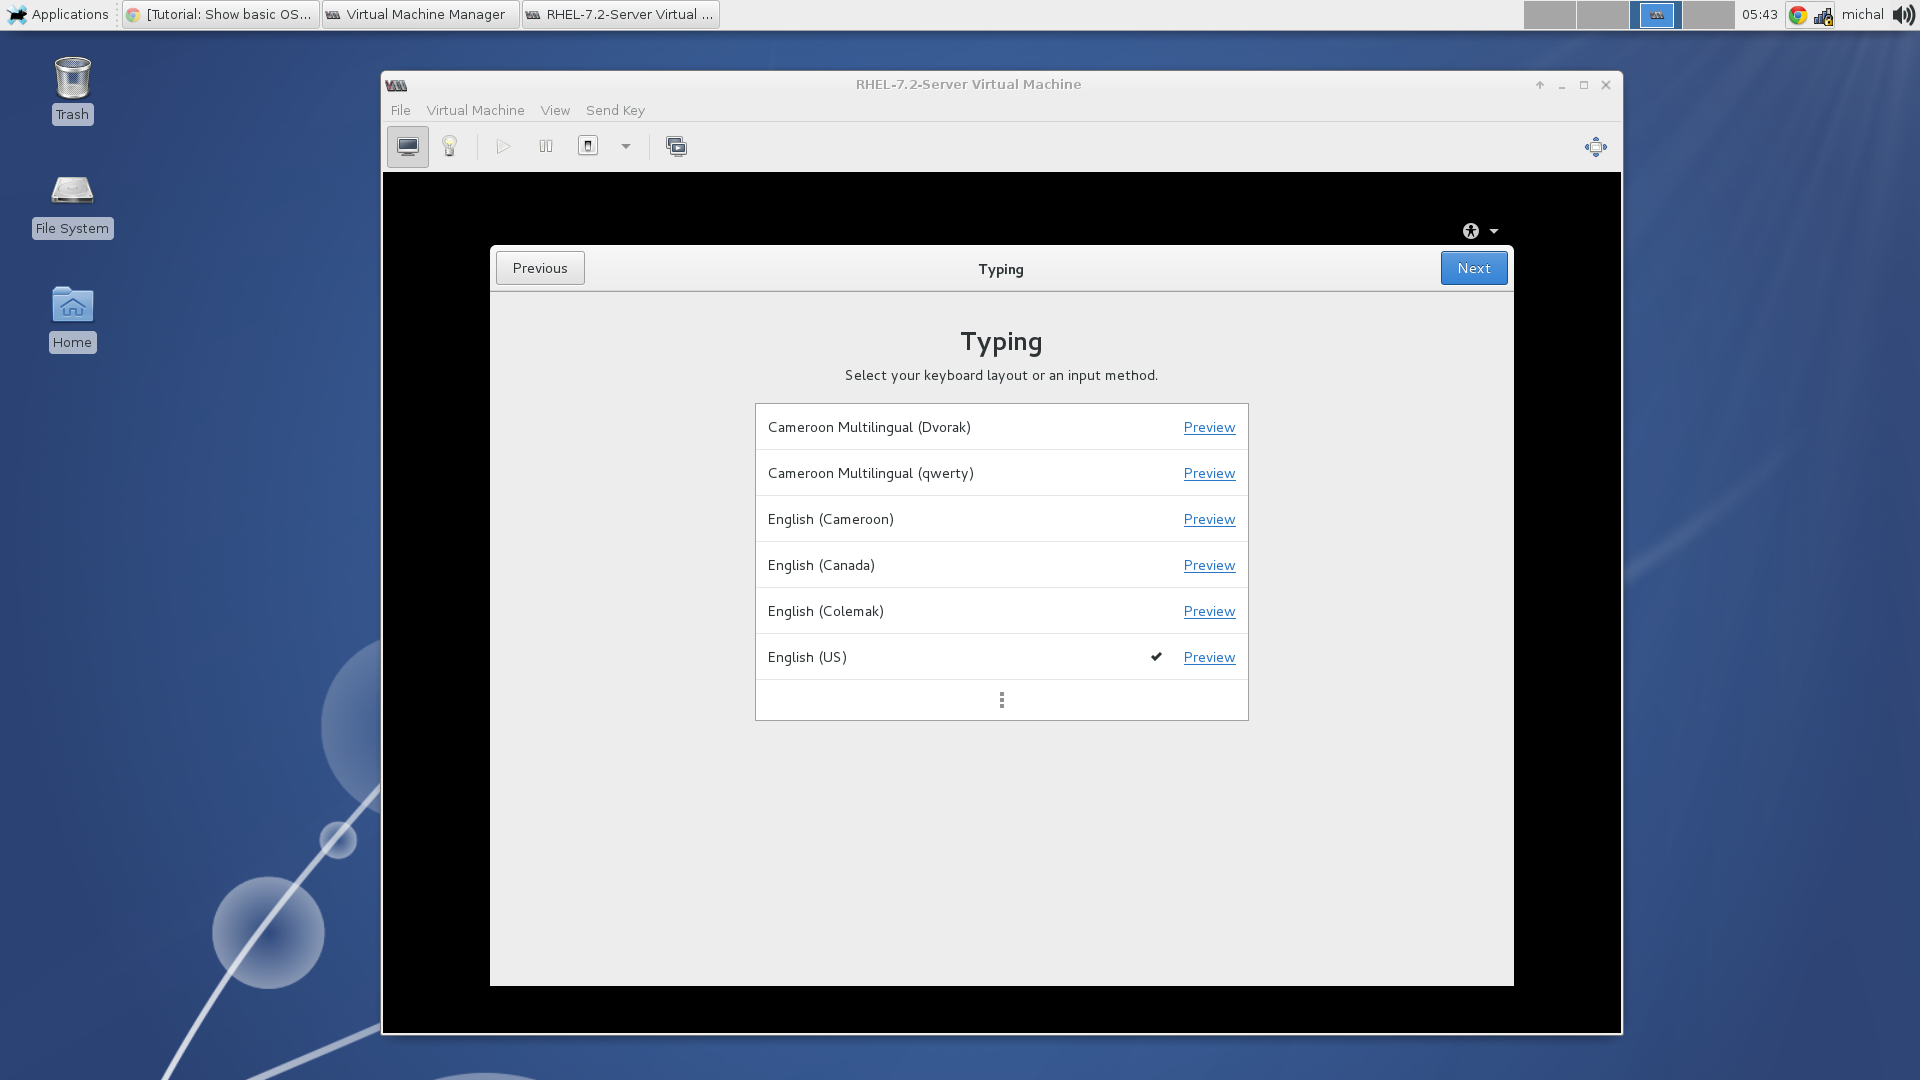
Choose your keyboard layout.
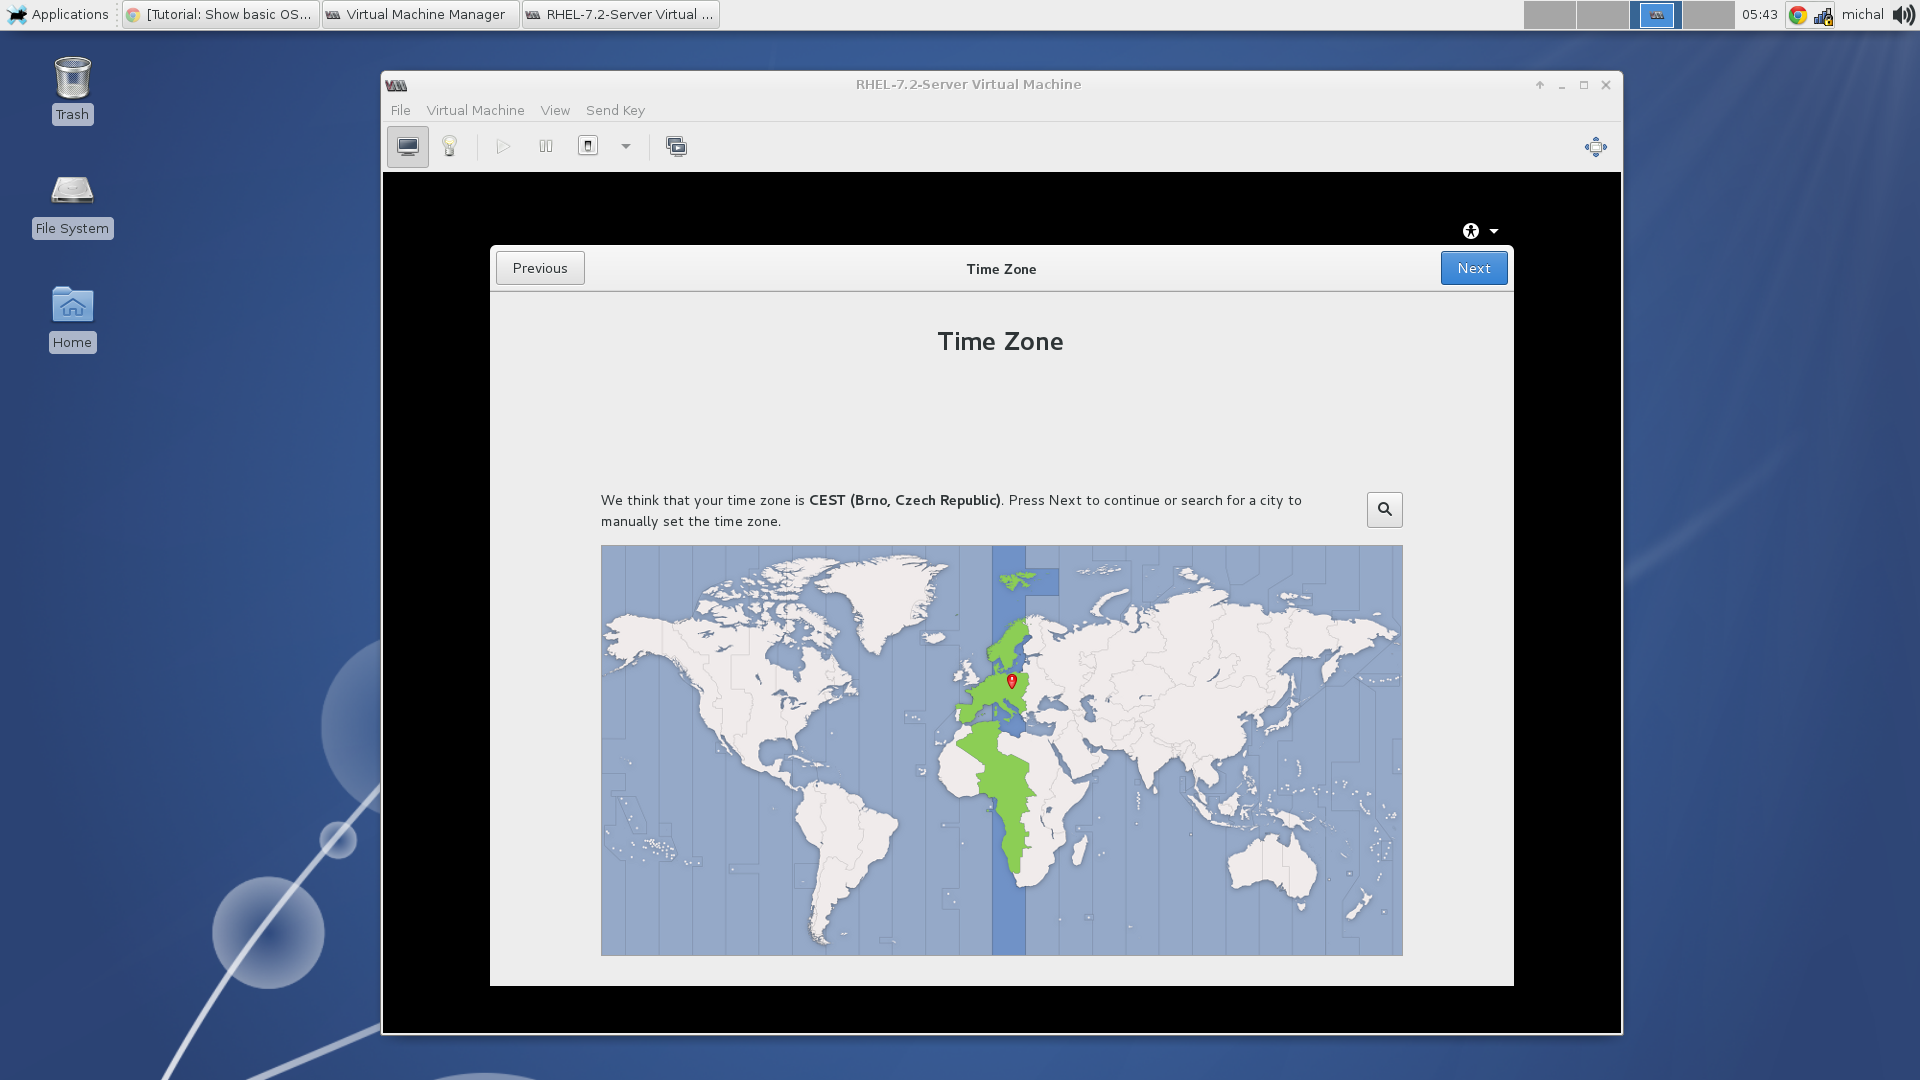
Choose your timezone.

Set your user name.

Set user’s password.
5. Verify the PCI-DSS compliance
Once we have the system installed we will perform a scan of the system to verify that it’s compliant to the PCI-DSS standard. The expected result should be just one rule (RPM verify permissions) should be failing. The rest of the rules should pass. The scanner tool and the security policies are already installed because they were used during the installation. Open the terminal and run the following command:
$ oscap xccdf eval --report pci-dss-anaconda-report.html --profile xccdf_org.ssgproject.content_profile_pci-dss /usr/share/xml/scap/ssg/content/ssg-rhel7-ds.xml
You can open the final pci-dss-anaconda-report.html file and see that there is only one rule failing and that is the mentioned RPM verify permissions rule.
If you are more interested in the oscap, which is a command-line tool, and can be used to parse and evaluate each component of the SCAP standard. For detailed information please see the oscap user manual or have a look at the OpenSCAP Base page.

